
Welcome to this week’s installment of our Outside the Checkbox series! Each week we share creative, real-world examples of how people use Alchemer to simplify their lives. In addition, we provide actionable instructions to help you incorporate these use cases into your own life.
Did you know that you can use Alchemer to create event registration and payment collection forms?
One of our local clients, Jessica Gates, is a certified American Sign Language (ASL) teacher, and she hosts instructional ASL classes for families with children under the age of five. By providing this valuable service over several years, Jessica has helped countless families learn to communicate better with one another. However, it wasn’t until fairly recently that she simplified her entire business model by implementing Alchemer.
Jessica uses Alchemer to streamline her registration and payment collection process. By building a simple event registration and payment collection form, parents with children looking to learn ASL can easily sign up for a class and submit payment via credit card.
Below is a recipe to create your own Event Registration and Payment Form.
How To Create an Event Registration Form with Alchemer
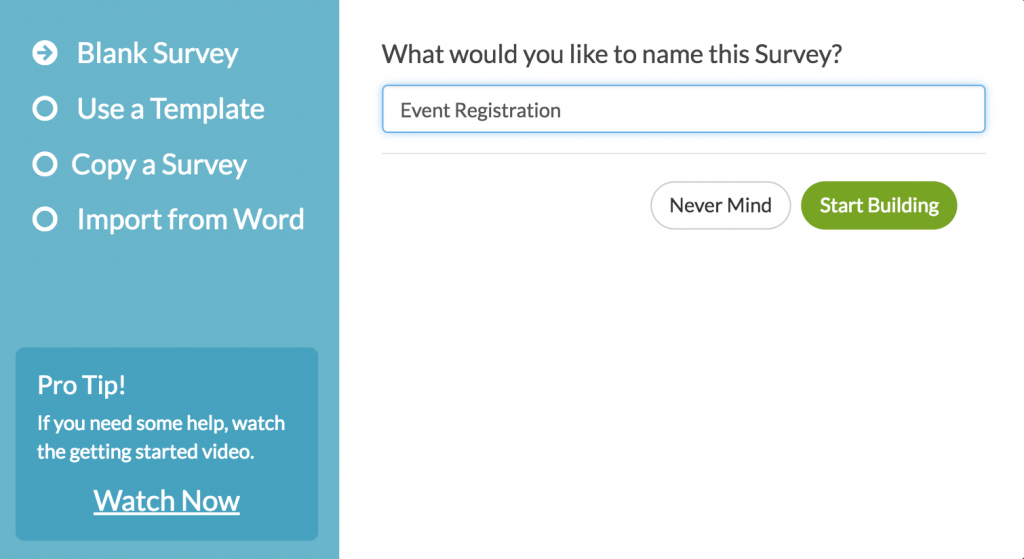
Step #1: Create a Survey
To start building an Event Registration Form, select Create a Survey from within your Alchemer account. Title your survey accordingly, and select Start Building.
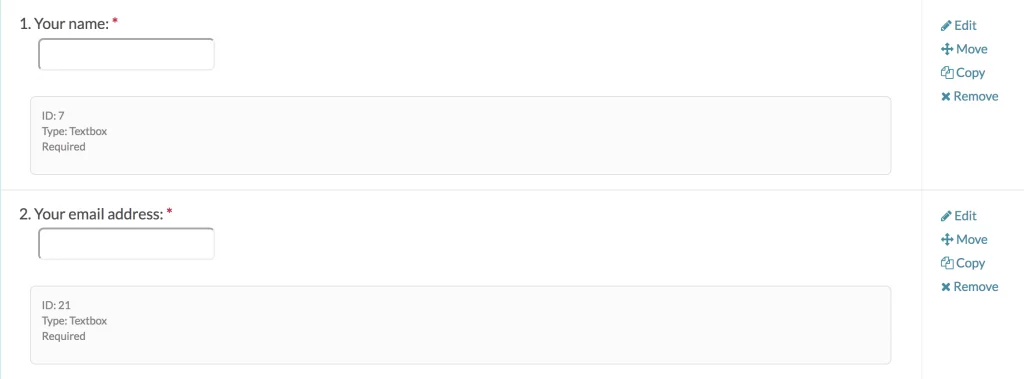
Step #2: Add Necessary Questions to Your Survey
From there, you’ll need to add questions to your survey. From the Add New menu on the screen, select Question.
It’s best that these questions are mandatory in your survey. This ensures that crucial information such as names and email addresses are captured.
Here, Jessica asks parents how many children they’d like to register for her ASL class.
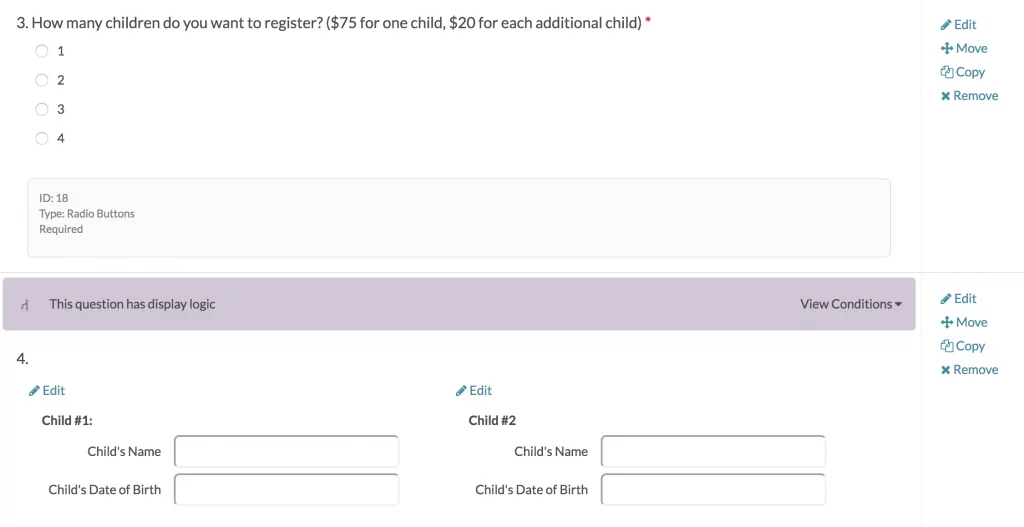
You’ll notice that Jessica takes advantage of Alchemer’s logic feature. When asking her contacts how many children they’d like to register for a class, the contacts are then presented with that number of form fields in the next question. This ensures she collects information for each student.
Step #3: Add Additional Questions to Your Survey
Once you’ve confirmed that all mandatory information for your event planning has been collected in your first set of questions, you might want to add some additional questions to help plan your event. Here, Jessica takes the opportunity to ask questions that let her gauge the experience that her prospective students already have with ASL.
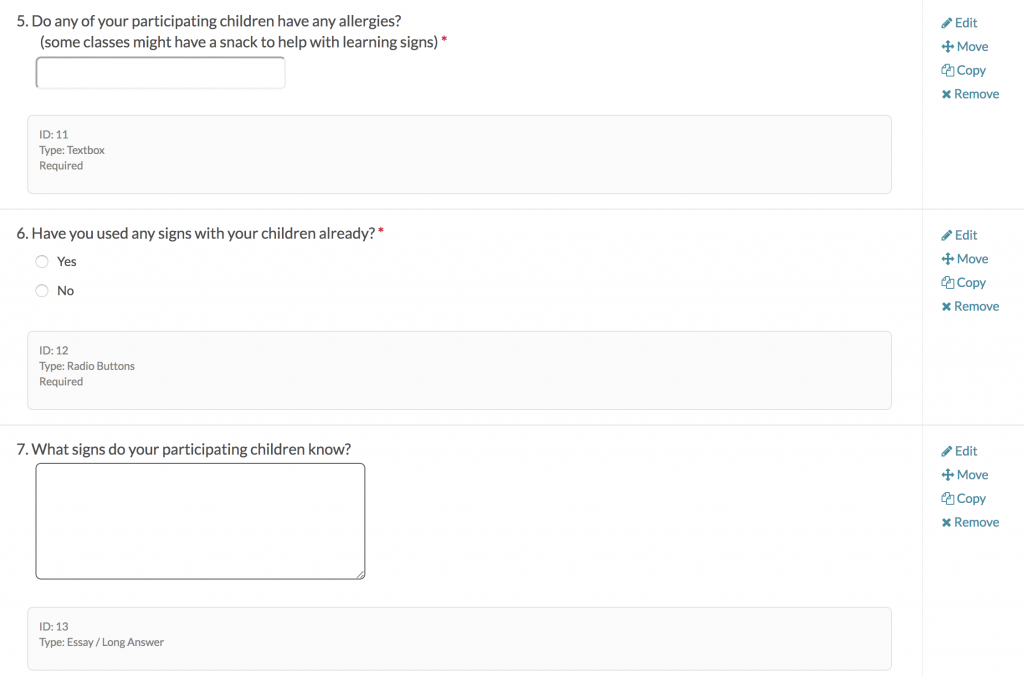
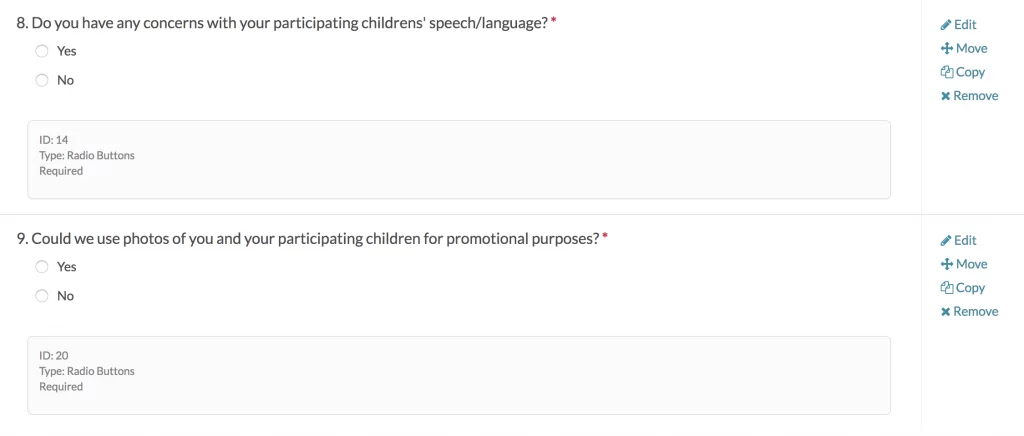
Once your contacts fill out this portion of your survey, you will have the information necessary to plan your event.
Next, we explain how to create a Payment action.
How To Create a Payment Action with Alchemer
*NOTE: You will need a Basic, Standard, Market Research, or Full Access license to create Payment actions within Alchemer.
Step #1: Set Up Your Stripe Integration
First, you’ll need to setup a free Stripe account at https://manage.stripe.com/register, or login to your existing Stripe account. If starting an account, you’ll receive activation instructions in your email inbox.
Copy both the Publishable Key and Secret Key (you will need to click Reveal Test Key Token in order to obtain this). You’ll be in test mode if you’ve just signed up. Once you activate, you can toggle the View Test Data option to get your live Publishable and Secret Keys.

Step #2: Access Stripe from Your Alchemer Account
Log in to your Alchemer account and go to Account and select Integrations. Click on the Stripe icon and paste your Test and Live Secret and Publishable Keys. Alchemer will use your test keys in survey previews and in test responses. Then, click Save. You’ll see a green check mark in the Status column confirming you’ve entered credentials.
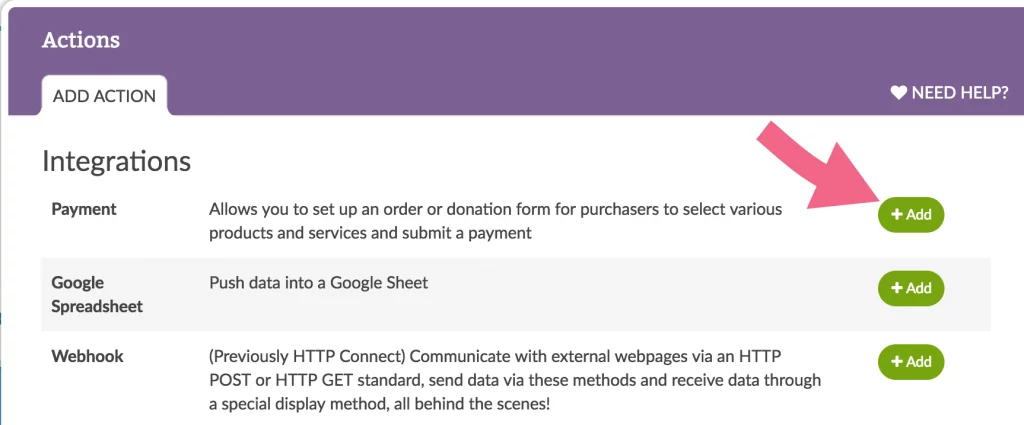
Step #3: Add a Payment Action
On the Thank You page of your Event Registration Form click the Add an Action link to add a Payment action.
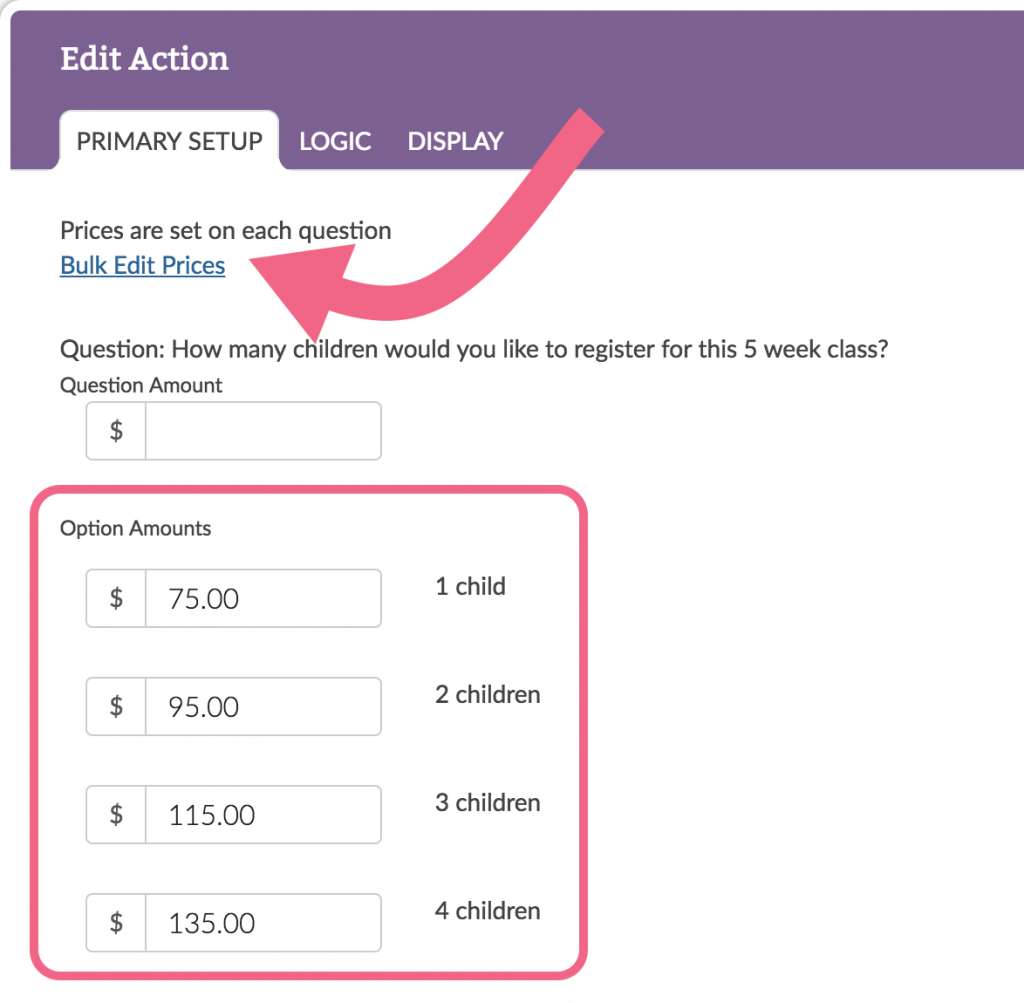
Within the Payment action, click the Bulk Edit Prices link to assign your amounts to your questions or options.
Step #4: Activate Your Payment Form
Once you have fully tested your payment form, it can be embedded directly in your Event Registration form!
You can also email a link, embed it on your website, or send it out to contacts via an email campaign.
Stay tuned for future installments of our Outside the Checkbox series in the weeks to come!
Do you have a creative or interesting way that you use Alchemer? We’d love to hear from you! You can reach me at ben.foley@surveygizmo.com.